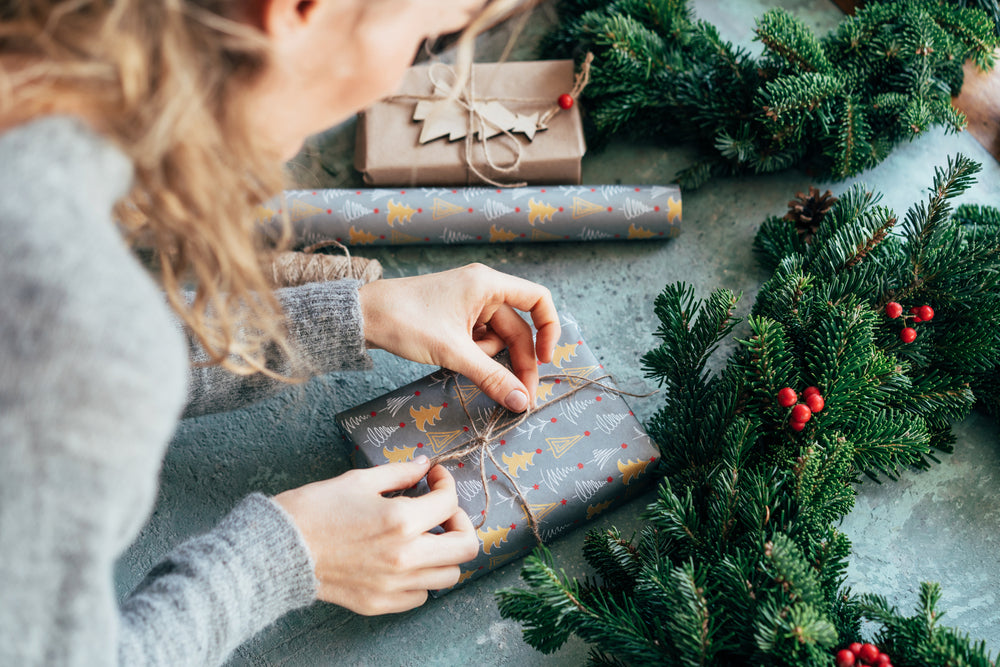
Purpose of packing a gift is to ensure the presence of a surprise element for the person who accepts the gift. This process always adds a touch of love and care without verbally expressing it. However, an unwrapped gift eliminates the element of surprise and takes away the fun part of tearing wrapping paper.
This blog will talk about basic DIY ideas that can make the role of wrapping presents more special. So, until the end of the blog, you will have plenty of ideas to start creating and wrapping presents for all your loved ones.
Before getting into the ideas, let us quickly review why we should use DIY methods for packing a gift.

Suggested Read: Importance Of Corporate Stationery Designing
Why Choose DIY Gift Packing?
The main reason for choosing DIY gift wrap techniques is that they are inexpensive and easy to create using simple stuff. In addition, there are plenty of unique ways to wrap presents beautifully.
Six creative DIY ideas
Following are the affordable DIY easy ways to cover gift items in a more presentable way.
Watercolour wrapping paper
Interesting way to add a twist in the appearance of your birthday box presentation by using simple three paint supplies
- Roll of craft paper.
- Set of watercolour paint.
- Basic Painting brush.
- Cup of Water.
All you have to do is draw an abstract pattern on the craft paper using the colour of your choice to make a perfect masterpiece.
Recycled paper
The majority of the people only use wrapping paper to have fun tearing for the moment, and ultimately, it goes into the trash. Selecting recycled material wrapping papers is an excellent way of helping the environment and preventing unnecessary wastage of material.

Cellophane sheet:
These cellophane sheets can also be used to wrap a present as they are soft, elastic and available in various colours. They can be used to wrap a present and can be used to make decorations to stick them on the box as these sheets are easy to use with glue.

Make and wrap a birthday box.
The most common way to make a birthday box is by using a simple tissue box. Let me brief the steps quickly;
- Place the tissue box on a clean surface and cut the top part, leaving the other sides untouched.
- Next, take a sheet of wrapping paper and place the box on top. Cover the whole box, including the lid with gift wrapping paper and cut out the excess from the corner using a paper cutter or scissors.
To add personal touches to make your birthday box a little extra-special, you can use Monograms, polaroid pictures, hand-written or readymade wishing cards etc.

Also Read: Types of Oil Paint Brushes
Tissue-paper color sheet:
Tissue-paper sheets are commonly used to wrap paper because they are lightweight and can be used to make papercraft. It is made up of recycled material or wood thread, and the dye colour is also near water-based, making it eco-friendly. It is also a good material for wrapping a gift as it hides the visibility. This material is less expensive than other craft paper.

Final words
Giving gifts on birthdays is an interestingly complex and essential medium of human interaction, which helps to define their relationships and strengthen bonds with loved ones. Every birthday gift that we give to someone shows our love and appreciation towards them. If we move from standard wrapping choices towards DIY supplies, it will benefit us and the environment.
This blog talks about some standard DIY techniques to help put your love into wrapping a gift.
Image Source: Shutterstock
Also Read:

