Innovative Visual Expression:
This artistic journey with black markers gives artists new ways to add a striking visual element to their work. The process transforms into an exciting voyage of self-expression that enables the development of a distinctive artistic personality. Cover art transforms into a dynamic canvas that enthralls and captures the spirit of the creative project with every stroke. Art markers may be used by artists to create visually compelling stories and storylines that captivate audiences. The process expands beyond just designing a cover image and becomes an exciting investigation of the limits and potential of art.
Essential Materials for Black Marker Cover Art:
In advance of starting your creative project of creating cover art using black markers, it is crucial to gather the necessary supplies. This is a thorough examination of the components that are need to give your cover art life:
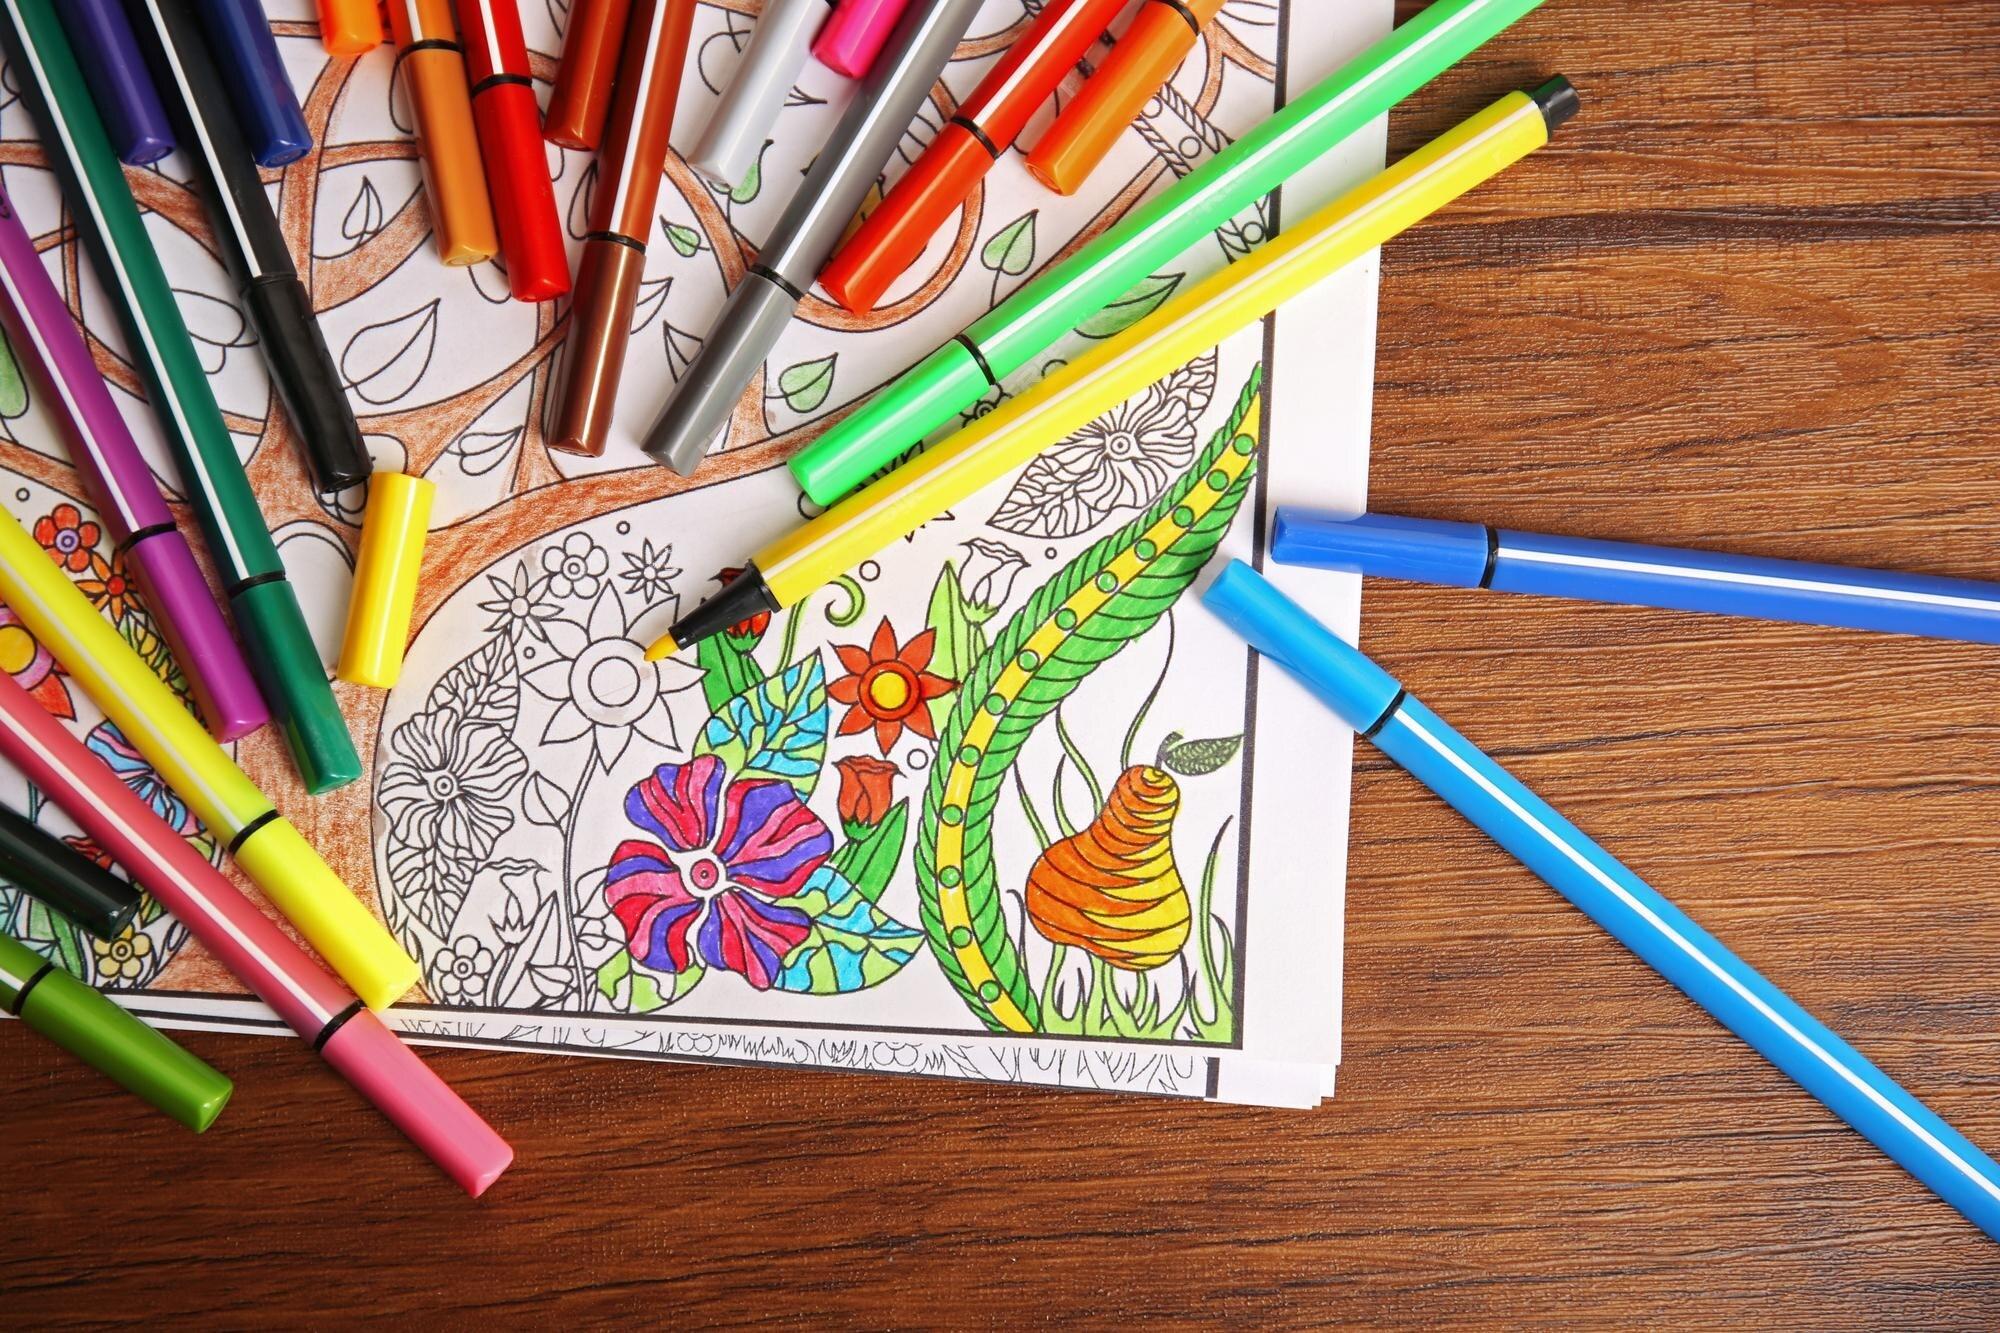
1. Diverse Black Markers:
- Variety of Tip Sizes: Ensure your collection includes black markers with fine, medium, and broad tip sizes. This diversity allows for intricate detailing as well as broad strokes, providing versatility in your artwork.
- Different Ink Bases: Experiment with water-based, alcohol-based, or permanent markers to discover the unique effects each type can offer. Water-based markers may provide a softer touch, while alcohol-based ones could yield more vibrant and intense results.
- Refillable Markers: Keep a collection of refillable markers in your arsenal. This ensures a continuous and uninterrupted creative flow, allowing you to focus on your art without concerns about running out of ink.
2. Quality Paper or Canvas:
- Suitable Canvas Selection: Choose a canvas that aligns with the style and purpose of your cover art project. The surface you select should complement the visual elements you plan to incorporate.
- Acid-Free and Heavyweight Material: Opt for acid-free and heavyweight paper or canvas to guarantee the longevity and preservation of your artwork over time. This choice prevents yellowing or deterioration, ensuring your cover art stands the test of time.
- Consideration of Texture: Pay attention to the texture of the surface. Some projects may benefit from a smooth finish, while others, especially those with intricate details, may require a more textured substrate to enhance the overall aesthetic.
3. Sketching Tools:
- Quality Pencils for Initial Ideas: Initiate your creative process with a set of high-quality pencils for the initial sketching phase. Pencils offer flexibility and ease of correction during the early stages of conceptualization.
- Erasers for Refinement: Have a variety of erasers on hand to refine and correct your sketches as your ideas progress. This allows you to experiment and make adjustments without compromising the integrity of your design.
- Lightbox or Tracing Paper: Consider using a lightbox or tracing paper for transferring refined sketches onto your final canvas. This technique aids in maintaining the precision of your original concept during the transition to the inking stage.
Planning Your Design:
With your materials assembled, the next crucial step in the creative process is to meticulously plan and conceptualize your cover art. Let's delve into a more detailed exploration of each aspect:
1. Brainstorming Ideas:
- Thematic Exploration: Initiate your brainstorming session by exploring various concepts and themes for your cover art. Consider the emotions, messages, or stories you want your artwork to convey.
- Understanding Your Audience: Delve into the demographics and preferences of your target audience. Tailor your concepts to resonate with the viewers who will interact with your cover art.
- Artistic Exploration: Expand your brainstorming by exploring different artistic styles and influences. This exploration can serve as a wellspring of inspiration for your unique design.
2. Sketching Your Vision:
- Visualization through Rough Sketches: Begin the visual representation of your ideas by creating rough sketches. These preliminary drawings help you experiment with different arrangements of elements and visualize the potential compositions.
- Arrangement Experimentation: Use this stage to experiment with various arrangements of elements within your cover art. Explore different placements, sizes, and interactions to find the most visually compelling configuration.
- Seeking External Input: Actively seek feedback from peers or mentors during this stage. External perspectives can provide valuable insights and constructive criticism, guiding you towards refining and improving your design.
3. Refining the Concept:
- Detailed Sketch Development: Progress from rough sketches to a more detailed and refined concept. Pay meticulous attention to the details, ensuring each element contributes cohesively to the overall narrative of your cover art.
- Attention to Details: During this refinement stage, focus on refining individual elements within your design. This includes fine-tuning shapes, proportions, and intricate details to achieve a harmonious and visually appealing composition.
- Iterative Adjustments: Use this stage as an opportunity for iterative adjustments. Take the time to make any necessary changes before transitioning to the inking process, ensuring your refined concept aligns perfectly with your creative vision.
Bringing Your Cover Art to Life:
With a meticulously planned design in hand, the inking process becomes the transformative stage where your cover art truly comes to life. Here's an in-depth exploration of the steps involved in mastering the inking process, allowing you to infuse depth and character into your creation:
1. Outlining Your Design:
- Precision with a Fine Black Marker: Initiate the inking process by outlining the main elements of your cover art using a fine black marker. The fine tip allows for precision, enabling you to define shapes and contours with accuracy.
- Smooth and Confident Lines: Focus on creating lines that are not only smooth but also exude confidence. The fluidity of your lines contributes to the overall aesthetic of your cover art, ensuring a clean and well-defined appearance.
- Consideration of Overall Flow: Take a step back and evaluate the overall flow of your design. Ensure that the outlined elements align harmoniously, creating a visually pleasing composition that captures the essence of your initial concept.
2. Adding Depth and Texture:
- Varying Line Weights for Dimension: Elevate your cover art by experimenting with varying line weights. Thicker lines for prominent elements and thinner lines for subtler details contribute to a sense of dimension within your artwork.
- Techniques for Texture: Explore various techniques, such as cross-hatching, stippling, or shading, to introduce texture and visual interest. Each technique adds a unique character to your cover art, enhancing its overall appeal.
- Play of Light and Shadow: Delve into the interplay of light and shadow to enhance the three-dimensional quality of your cover art. Consider the source of light within your design and strategically apply shading to create depth and realism.
3. Filling in Solid Areas:
- Broad Strokes and Thicker Markers: Once the outlines are complete, proceed to fill in solid areas using broader strokes or thicker markers. This step adds substance and solidity to your cover art, emphasizing the contrast between different elements.
- Contrast for Emphasis: Pay meticulous attention to contrast during the filling process. Employ thicker lines for foreground elements, ensuring they stand out, while using thinner lines for background details to create depth and perspective.
- Consistent Application for Polished Finish: To maintain a polished and cohesive appearance, ensure a consistent application of ink throughout the filling process. Consistency contributes to the overall professionalism of your cover art.

Stationers.pk The Best Platform To Buy Art Markers In Pakistan:
Stationers.pk is the best place to buy art markers. They offers the largest collection of art markers available online, supporting a variety of artistic tastes. The platform guarantees possibilities for any creative requirement with an extensive choice of vibrant colors and tip sizes. The website is easy to navigate and provides convenient exploring options. While affordability is a top priority, Stationers.pk is the best place to buy art markers on a tight budget.
- Diverse Selection: Offering a wide range of art markers to suit various preferences and styles.
- Premium Brands: Exclusive selection from top-quality brands ensures durability, vibrant colors, and consistent performance.
- Affordable Pricing: Commitment to accessibility with competitively priced art markers, making creativity budget-friendly.
- Reliable Delivery: Count on Stationers.pk for dependable and prompt delivery services, ensuring your markers arrive in perfect condition.
- Customer Satisfaction: Positive reviews highlight excellent service, responsive support, and a commitment to addressing inquiries promptly.
Rewarding And Accessible Way:
Crafting cover art with black markers is a rewarding and accessible way to showcase your artistic flair. By gathering the right materials, planning your design thoughtfully, and mastering the inking process, you can create cover art that not only captures attention but also conveys the essence of your project. Let your creativity flourish as you experiment with different styles and techniques, and watch as your black marker cover art becomes a visually captivating masterpiece.