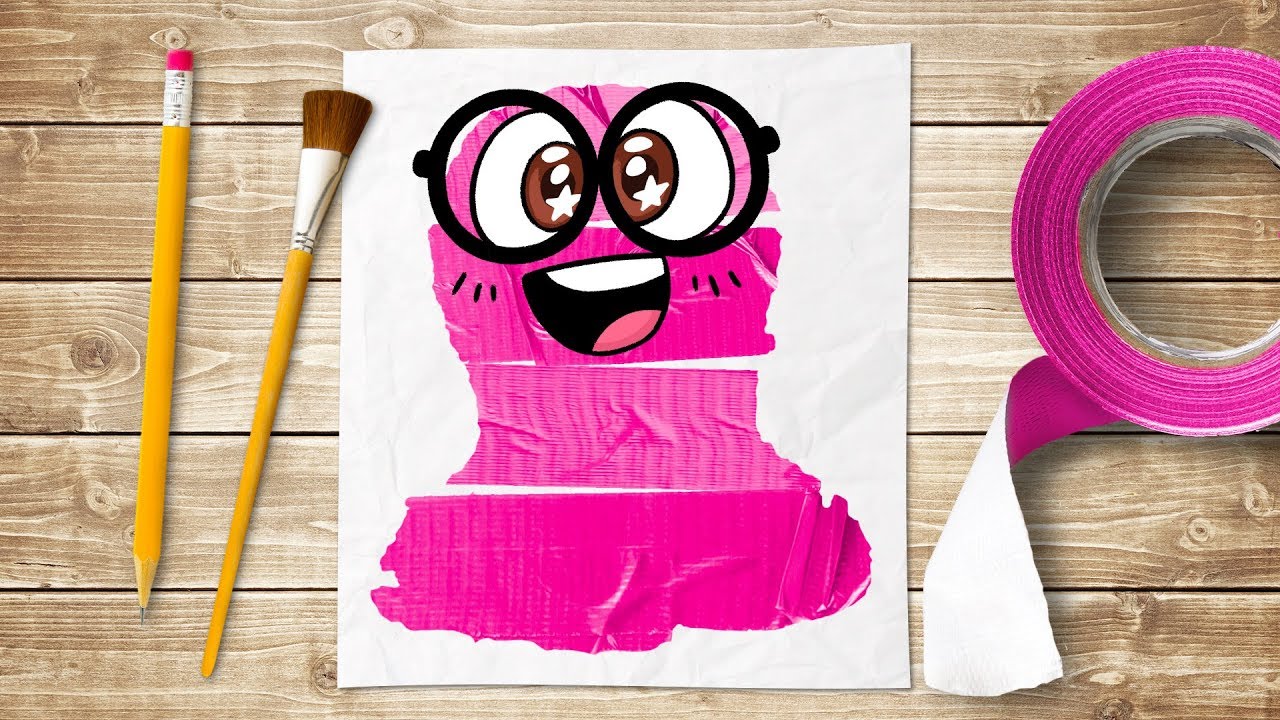
Crafting with Tape:
Craft tape, often known as washi tape or decorative tape, is a versatile and fun material that kids can use to add a splash of creativity to their art projects. Its easy-to-use nature and variety of colors and patterns make it an ideal tool for young artists. Here’s a guide on how craft tape can be used to create exciting patterns and designs in children's art projects.
Why Choose Craft Tape?
Craft tape is a fantastic medium for children because it’s:
Colorful and Attractive Available in an array of colors, patterns, and textures.
Easy to Use Simple to tear and apply, even for little hands.
Non-Messy Unlike paints and glues, it doesn’t require any cleanup.
Repositionable Most craft tapes can be easily removed and adjusted without damaging surfaces.
Before diving into specific projects, gather a variety of craft tapes. Look for different widths, patterns, and colors to give your child plenty of creative options.
Project Ideas and Techniques
Geometric Shapes and Patterns

Materials Needed: Craft tape, paper or canvas, scissors.
Instructions: Kids can create geometric designs by placing strips of tape in various configurations. They can make grids, triangles, hexagons, and more. Encourage them to use different tape widths and colors to add complexity and interest.
Striped Artwork
Materials Needed:
Craft tape, a blank sheet of paper or a notebook cover.
Instructions:
Show children how to create a striped pattern by laying down parallel strips of tape. They can alternate colors or widths to make vibrant, eye-catching designs. This technique works great for decorating book covers, cards, and posters.
Tape Resist Art
Materials Needed:
Craft tape, paper or canvas, paint, brushes.
Instructions: Help kids apply tape to their paper in random patterns or to form shapes. Once the tape is in place, they can paint over the entire surface. After the paint dries, remove the tape to reveal the untouched, taped-off sections, creating a striking contrast.
Mosaic Designs

Materials Needed:
Craft tape, paper, scissors.
Instructions:
Have children cut the tape into small pieces and use these pieces like mosaic tiles. They can arrange the pieces into patterns or pictures, such as flowers, animals, or abstract designs.
Decorative Frames
Materials Needed:
Craft tape, photo frames, scissors.
Instructions:
Kids can personalize plain photo frames by adding strips of craft tape. They can create borders, stripes, or intricate designs to make each frame unique.
Nature Scenes
Materials Needed:
Craft tape, paper, colored markers or pencils.
Instructions:
Encourage kids to create scenes from nature using craft tape. For example, they can use green tape for grass, blue for the sky, and different colors for flowers and animals. They can add details with markers or pencils.
Tips for Success
Encourage Experimentation:
Let kids experiment with different tape combinations and layouts. The more they explore, the more creative their designs will become.
Mix and Match:
Combine craft tape with other materials like stickers, glitter, or paint for mixed-media projects.
Practice Patience:
Some designs may require careful placement of tape. Teach kids to take their time and enjoy the process.
Craft tape opens up a world of creative possibilities for children’s art projects. Its versatility and ease of use make it an excellent choice for young artists looking to explore patterns and designs. With just a little guidance and a lot of imagination, kids can create beautiful, tape-based masterpieces that showcase their unique artistic talents.