Embark on a creative journey that traverses the delicate simplicity of fomic sheet designs to the precision ballet with cutting mats. Explore the art of crafting flowers, leaving imprints of artistic legacies through lino sheet printing, and sculpting silence into intricate designs with lino sheet carving. Illuminate your creative space with glitter-flecked fomic sheets, creating a symphony that showcases the elegance found in both simplicity and precision.
Fomic Sheet Decoration Designs Easy: Simplicity's Elegance
Beauty need not be complex; easy fomic sheet decoration designs prove that simplicity can be profoundly elegant. These creations evoke a sense of wonder, showcasing that even the simplest designs can make a powerful aesthetic statement.
Crafting Tip: Opt for monochromatic color schemes for a minimalist yet impactful look.
Explore Fomic Sheet Prices in Pakistan
Minimalist Marvels: Monochrome Magic in Fomic Sheet Designs
Monochromatic color schemes, when applied to fomic sheet designs, create a sense of harmony and sophistication. Choose a single color or shades of the same hue to maintain simplicity while maximizing impact. This approach is particularly effective in creating a cohesive and visually pleasing aesthetic.
Geometric Elegance: Clean Lines, Striking Statements
Experiment with geometric shapes as the foundation for your easy fomic sheet designs. Circles, squares, and triangles arranged in aesthetically pleasing patterns can adorn various surfaces, from walls to tabletops. The clean lines of geometric designs exude modernity and simplicity.
Negative Space Poetry: Embracing Simplicity with Purpose
Allowing negative space to play a role in your designs adds depth and intentionality. Consider leaving portions of the fomic sheet untouched, creating a balance between embellishment and simplicity. This approach enhances the elegance of your creations by highlighting the thoughtful use of space.
Buy Lino Sheets and Cutting Mats Online at Best Prices
Fomic Sheet Flowers Making Step by Step: A Tutorial in Bloom
The art of crafting fomic sheet flowers unfolds like a graceful ballet, with each step in the tutorial contributing to a blooming masterpiece that captures the delicacy of nature.
Crafting Tip: Vary the sizes and shapes of petals to create a diverse and visually interesting flower.
Step 1: Select Your Materials
Gather fomic sheets in the desired colors, a pair of sharp scissors, crafting glue, and any additional embellishments you wish to include.
Step 2: Choose Your Flower Design
Select a flower design that resonates with your vision. This could be a classic rose, a cheerful daisy, or an exotic orchid. Print or draw the design as a template for cutting.
Step 3: Cut Out Petals
Using the template, carefully cut out the petals from the fomic sheets. Experiment with different sizes and shapes to create a dynamic and visually interesting flower.
Step 4: Shape and Assemble Petals
Take each petal and gently shape the edges to add a realistic touch. Begin assembling the flower by layering the petals, securing them with crafting glue. Consider creating multiple layers to add depth and dimension.

Step 5: Craft the Flower Center
Craft the center of the flower using a contrasting color or a different type of fomic sheet. This could be a simple circular shape, a cluster of small petals, or even a textured embellishment.
Step 6: Final Touches and Adjustments
Inspect your creation and make any necessary adjustments. Add leaves or additional details to enhance the overall aesthetic. Experiment with different color combinations for a diverse bouquet.
Buy Drawing Sheets at Cheap Price in Pakistan
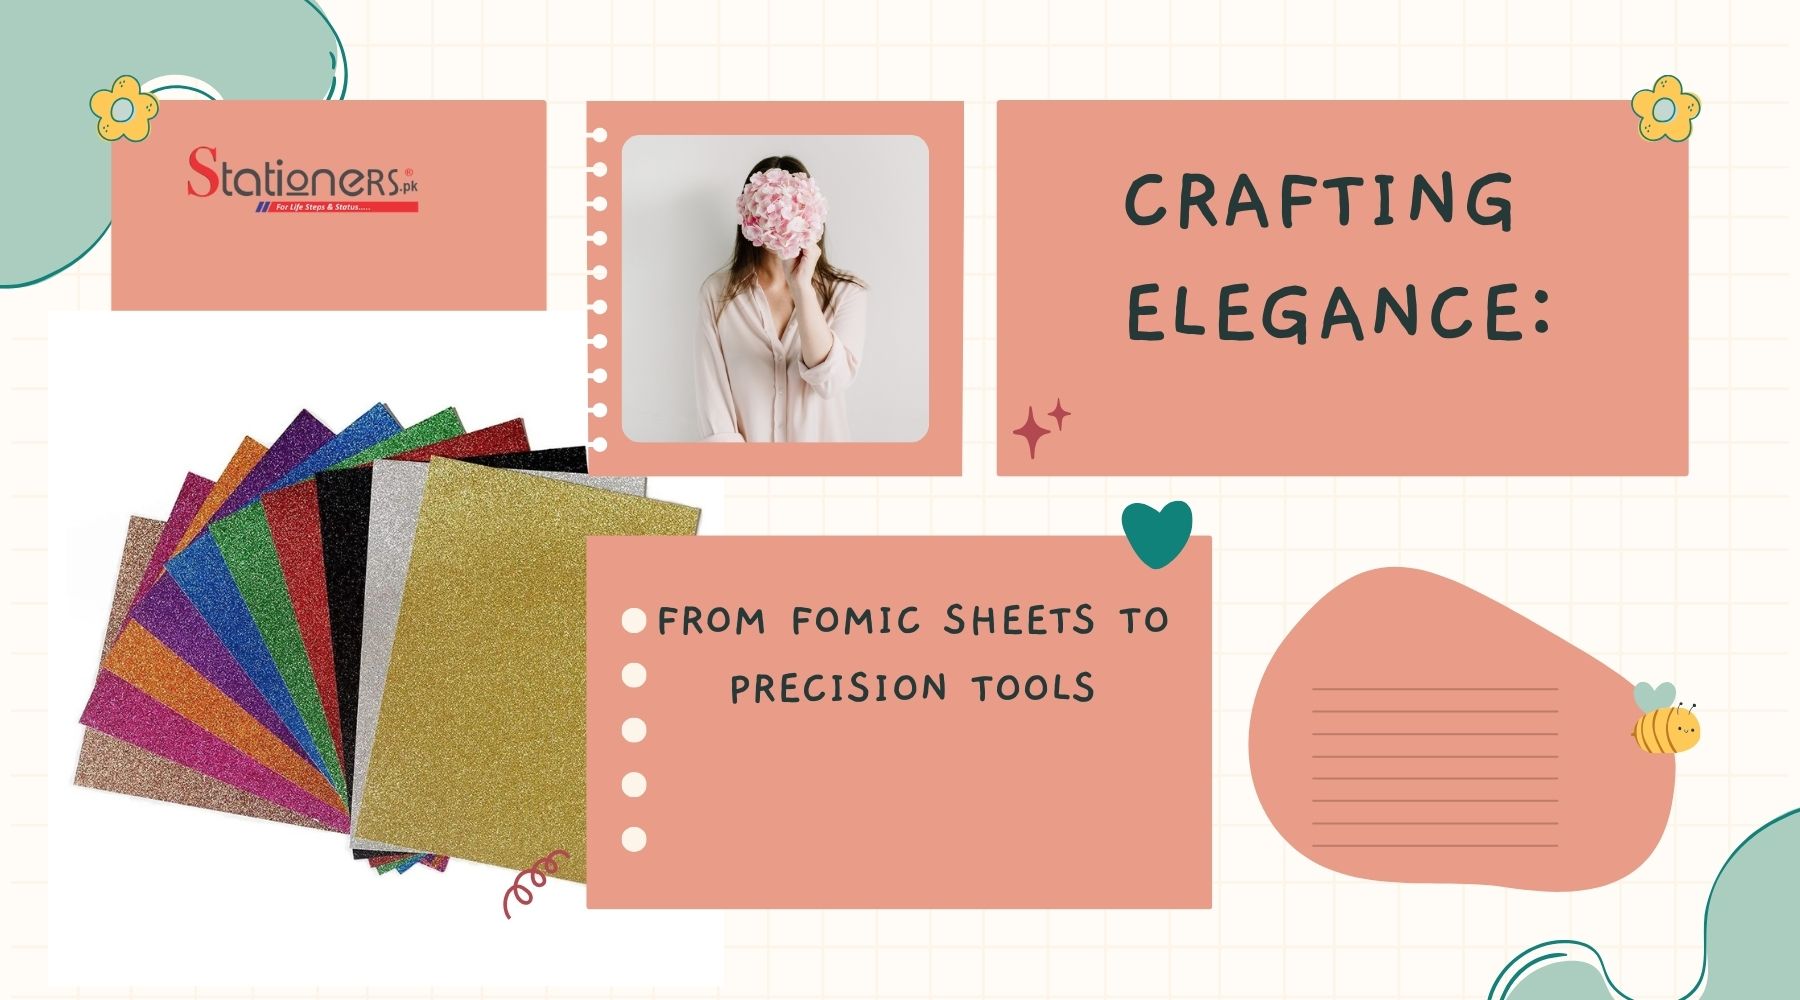
Glitter Fomic Sheet Decoration Ideas: Illuminating Creativity
Illuminate your creative space with glitter-flecked fomic sheet decoration ideas. Transform ordinary objects into dazzling focal points that reflect the brilliance of your imagination.
Crafting Tip: Create glittery accents for vases, frames, or even desk accessories.
Glamorous Accents: Transforming Everyday Objects
Add a touch of glamour to your surroundings by incorporating glitter-flecked fomic sheet accents. Consider covering vases with glittered sheets, turning them into sparkling centerpieces. Frame photographs with glitter borders, infusing a touch of luxury into cherished memories.
Desk Accessories: Elevating the Workspace in Style
Turn mundane desk accessories into stylish essentials with the addition of glitter-flecked fomic sheets. Cover pencil holders, organizers, or even mousepads with these sparkling sheets. The result is a workspace that not only promotes productivity but also exudes a sense of creativity and sophistication.
Sparkling Frames: Showcasing Memories in Glamour
Revamp ordinary photo frames into glittering showcases for your favorite memories. Cut glitter-flecked fomic sheets into strips and adhere them to the edges of frames. This simple yet effective addition transforms a standard frame into a dazzling display piece.
Dimensional Glitter: Creating Textured Masterpieces
Experiment with textured glitter-flecked fomic sheets to add depth to your decorations. Consider creating three-dimensional embellishments for a visually dynamic effect. These textured elements can be applied to various surfaces, from walls to furniture.
Shop the Best Drawing Pads Online
How to Make Flower with Fomic Sheet Step by Step: Crafting Floral Harmony
Learning the art of crafting flowers with fomic sheets is an exploration into the delicate dance of petals and the poetry of creation. Each step in the process is a note, guiding your hands in the symphony of creation—a melody that results in a harmonious bouquet of everlasting beauty.
Crafting Tip: Experiment with different flower types and sizes to create a diverse arrangement.
Step 1: Gather Your Materials
Begin with a collection of fomic sheets in your desired colors, a pair of sharp scissors, and a crafting glue. Ensure a clean workspace to embark on your floral journey.
Step 2: Choose Your Flower Design
Select a flower design that resonates with your vision. Whether it's a classic rose or a whimsical daisy, the choice is yours. Print or draw the design as a template to guide your cutting.
Step 3: Cut the Petals
Using the template, cut out the petals from the fomic sheets. Vary the sizes and shapes to add dimension to your flower. The flexibility of fomic sheets allows you to experiment with intricate petal designs.
Step 4: Shape and Assemble
Take each petal and gently curve the edges to add a realistic touch. Begin assembling the flower by layering the petals, securing them with glue. Create the desired fullness by adding more layers.
Step 5: Craft the Center
Craft the center of the flower using a contrasting color. This could be a simple circular shape or a more intricate design, depending on your chosen flower type.
Step 6: Final Touches
Inspect your creation and make any necessary adjustments. Add leaves or additional details to enhance the overall aesthetic. Your fomic sheet flower is now ready to bloom in eternal beauty.
Best Drawing Board at Affordable Prices in Pakistan!
Lino Sheet Printing: Imprints of Artistic Legacy
Enter the captivating world of lino sheet printing, where sheets become imprints of an artistic legacy. Each press of the linoleum block onto paper is a stroke in the canvas of creativity, capturing moments in the permanence of print.
Crafting Tip: Experiment with different inks and textures for varied print effects.
Step 1: Gather Your Materials
Acquire a linoleum block, carving tools, printmaking ink, a brayer, and quality paper. Ensure a stable surface for carving and printing.
Step 2: Design Your Image
Sketch or transfer your chosen design onto the linoleum block using a pencil. Remember that the carved areas will not receive ink, forming the negative space in your print.

Step 3: Carve the Linoleum Block
Using carving tools, carefully carve away the linoleum from the areas you want to remain white. Start with simple designs and gradually progress to more intricate patterns as your skills develop.
Pastel Sheets Deals in Pakistan!
Step 4: Apply Ink
Squeeze a small amount of printmaking ink onto a smooth surface. Roll the brayer in the ink and evenly apply it to the carved linoleum surface. Ensure complete coverage.
Step 5: Print the Image
Place the inked linoleum block onto your chosen paper. Apply pressure evenly with a baren or a printing press. Peel back the paper to reveal your unique lino print.
Step 6: Experiment with Texture and Color
Explore different inks and experiment with the texture of your linoleum block. Consider layering multiple colors for a dynamic effect. Each print becomes a testament to your artistic exploration.
Wholesale Art Sheets: Buy Online at Unbeatable Prices!
Lino Sheet Carving: Sculpting Silence into Art
Lino sheet carving is a dance where silence is sculpted into art. Each cut is a breath, shaping sheets into intricate designs—a tactile experience where hands and tools collaborate to create profound visual narratives.
Crafting Tip: Start with simple designs and gradually progress to more intricate carvings as you gain confidence.
Step 1: Select Your Tools
Equip yourself with a linoleum block, carving tools (V-gouges and U-gouges), pencil, and a bench hook for stability. Create a comfortable and well-lit workspace.
Step 2: Plan Your Design
Sketch your design directly onto the linoleum block using a pencil. Remember that carved areas will not receive ink, forming the negative space in your final print.
Step 3: Begin Carving
Start carving by outlining the areas you want to remain uninked. Use the V-gouges for straight lines and the U-gouges for curves. Take your time and carve with precision.
Step 4: Create Depth and Texture
Experiment with varying depths of carving to add texture and dimension to your design. The deeper the carve, the less ink that area will hold during printing.
Step 5: Refine and Perfect
Fine-tune your carving, refining details and ensuring smooth transitions between positive and negative spaces. Embrace the tactile nature of the process.
Step 6: Test Prints
Before creating your final masterpiece, make test prints to identify any adjustments needed. This step allows you to perfect your carving and achieve the desired visual impact.
Elevate Your Art with the Best Watercolor Pads
How to Use a Cutting Mat for Paper: Precision's Ballet
Master the ballet of precision with a cutting mat for paper. Sheets, under the guidance of a precise blade, transform into intricate shapes—a dance where every cut is a step towards perfection.
Crafting Tip: Invest in a self-healing cutting mat for durability and longevity.
Step 1: Choose the Right Cutting Mat
Select a high-quality cutting mat that suits your workspace and crafting needs. A self-healing mat ensures longevity by closing up knife marks, providing a smooth surface for precise cuts.
Step 2: Gather Your Tools
Arm yourself with a sharp craft knife, a ruler or straight edge, and the paper you wish to cut. Ensure proper lighting for clear visibility.
Step 3: Measure and Mark
Use the ruler to measure and mark the paper according to your desired dimensions. Precision is key in achieving clean and accurate cuts.
Buy Sketch Pad Online at Stationers.pk

Step 4: Secure the Paper
Place the paper on the cutting mat and secure it with tape or weights to prevent movement during cutting. This ensures stability for precise, controlled cuts.
Step 5: Guided Cutting
Hold the craft knife at a comfortable angle and align it with the ruler for guided cutting. Apply gentle, even pressure, allowing the blade to smoothly glide through the paper.
Step 6: Rotate and Repeat
If your design requires multiple cuts or angles, rotate the paper as needed, always ensuring it remains securely in place. Repeat the cutting process until your intricate shape is revealed.
Step 7: Care for Your Cutting Mat
After completing your project, clean the cutting mat to remove any debris. Invest in a quality mat, and it will serve as a reliable partner in your precision crafting endeavors.
SketchBooks Price in Pakistan
Conclusion:
In the hands of crafting enthusiasts, fomic sheets transform into canvases of elegance, each flower a testament to the harmonious beauty of simplicity. The imprints of artistic legacy through lino sheet printing, the dance of silence in lino sheet carving, and the precision ballet with cutting mats reveal the depth and diversity of artistic expression.
As we navigate this creative odyssey, we discover that whether crafting simplicity or dancing with precision, every stroke and cut contributes to the enchanting tapestry of craftsmanship.
Back to School Made Easy: Shop Stationers.pk for Quality Stationery